
Outback
2 floors
Peek Roulette
Spin a random Outback peek
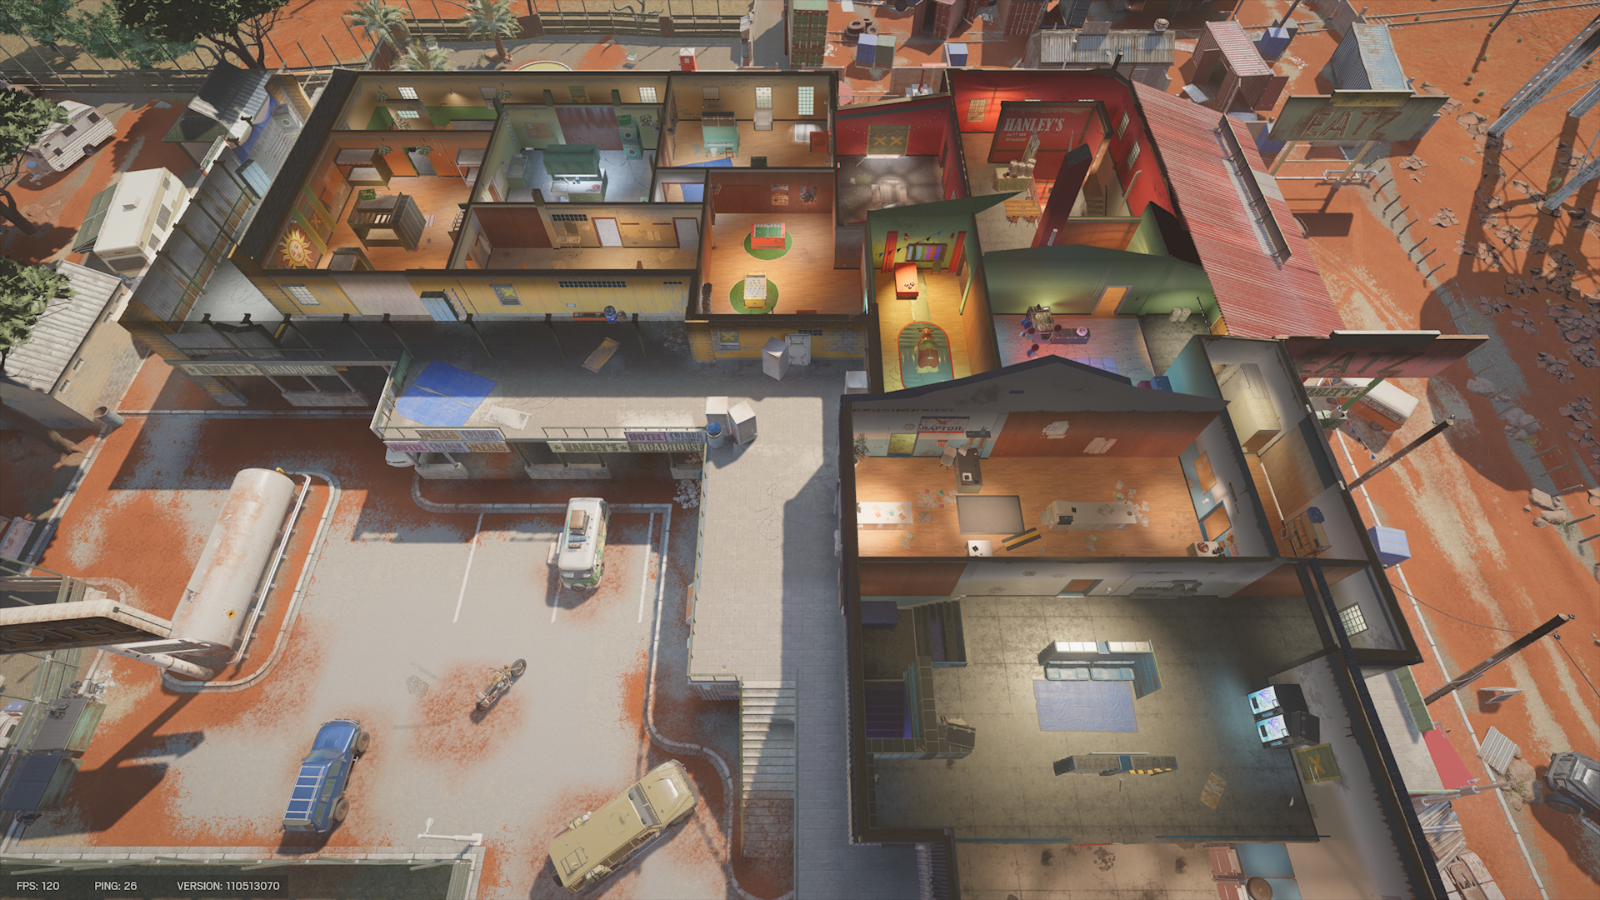
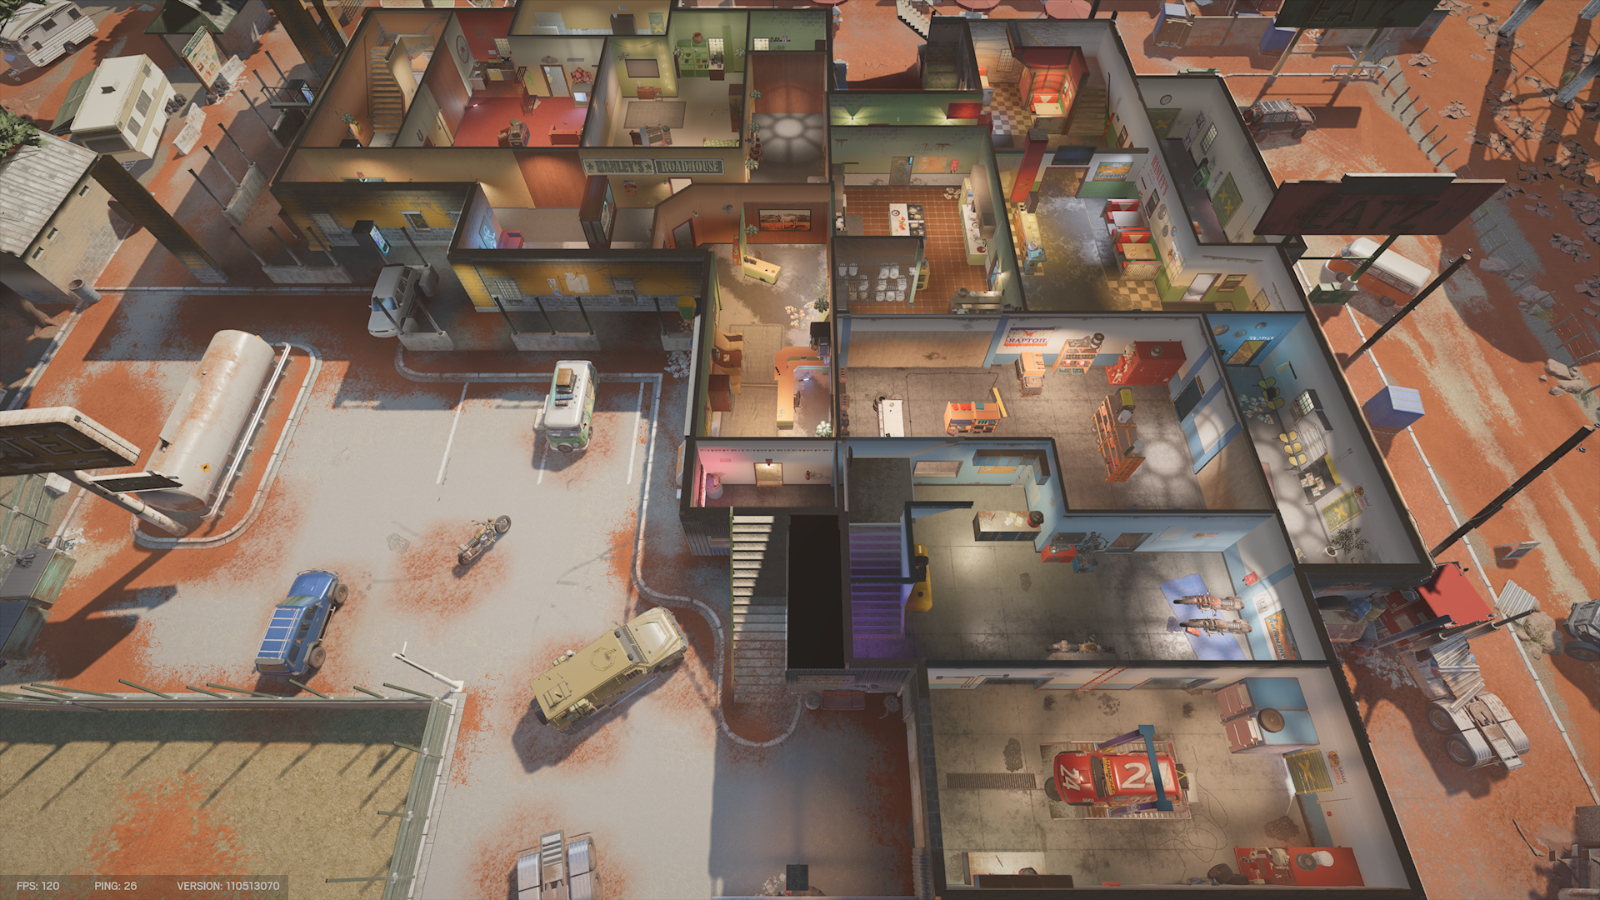
💎 Underrated on this map
Last 7 days — Top 5 peeks
Outback Spawn Peeks — What to Know
Outback's compact exterior means short approaches — and short approaches mean spawn peeks connect fast. The community has graded 9 angles here, with three A- peeks covering different sides of the building so no spawn is truly safe.
The A- trio: Lounge west, Garage door, Reception
Lounge west window upstairs (19 votes) plus Garage and Reception doors on the ground floor all grade A-. Between them they threaten every practical approach — the strength of Outback's peek game isn't one dominant angle, it's that all three sides of the building bite.
Loading door — the volume pick
Loading door has the most votes on the map (24) and grades B+. High vote counts mean high usage: this is the peek Outback defenders actually take most often, and the grade holding at B+ despite that popularity means it still works even when attackers should see it coming.
What the data warns against
Yellow door (C-) and Terrace door (D) sit at the bottom of the board. Terrace especially is the kind of aggressive angle that looks great in a clip and dies to a pre-aim in practice. The community has voted; believe them.
Countering these as an attacker
With threats on three sides, the counter is lane discipline: pick your entry side, clear only its angles — window first, then doors — and don't wander the exterior. Outback punishes teams that split around the building before clearing anything. See the attacker view for exact pre-aim positions.
Community-graded spawn peeks for Outback — pick a floor to see exact spots, watch clips, and learn the setups. Updated June 18, 2026.